
1. Introduction
Swapping .uasset & .uexp files wont work by just renaming them because of how the files are set up. Inside the .uasset file there are paths that define from where to load files. That can be either just one path for the file location itself or several paths to load different files (a material for example has the paths of all the texture it uses). This tutorial assumes that basic knowledge (like how to extract files from the game or pack mods) on how to mod the game is available.
1.1. A Note Before Starting
The .uasset path swapper comes with 2 options. Single and Batch. Note that the files you are swapping needs to have the exact same amount of characters in its filename to work.
2. Requirements
3. Single File Swapp
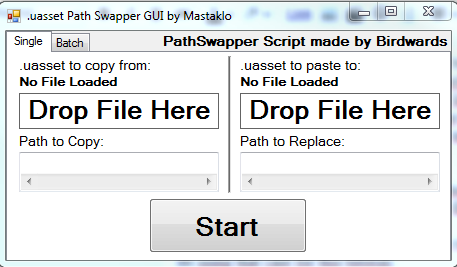
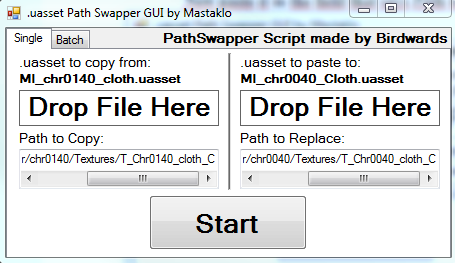
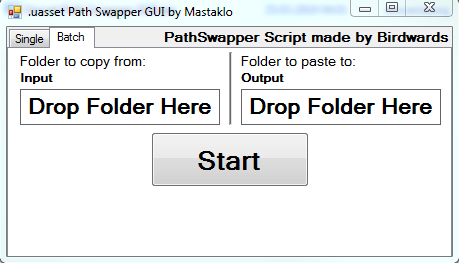
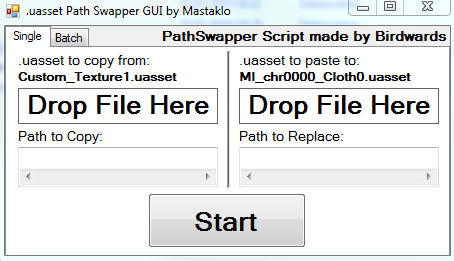
First we are going to check how the single file swapp works. Since we need to use a material that is able to hold physic information to apply cloth physics to mods, im using that case for this tutorial. We will use Piccolos cape for this. So copy your MI_chr0040_Cloth.uasset/.uexp to a location you remember. Now choose the material you want to replace with piccolos cape material. I want to replace the MI_chr0120_cloth material so im gonna copy the .uasset/.uexp of this file to a location i remember. Now open up Uasset Path Swapper GUI.exethis will show up:
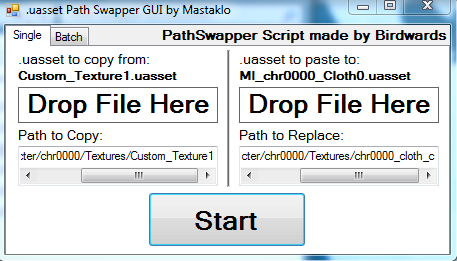
Next just drag n drop the .uasset files in the corresponding drop fields. Since we want to get the path of the MI_chr0120_cloth.uasset and paste it in the MI_chr0040_Cloth.uasset, we need to drag the 0120 on the left and the 0040 on the right. the filename will be displayed above the drop fields so you can make sure you loaded them right.
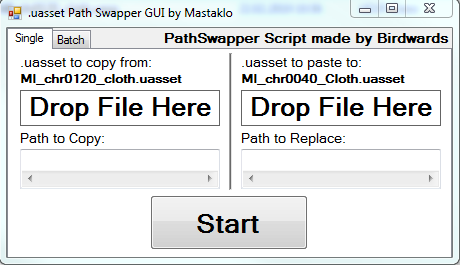
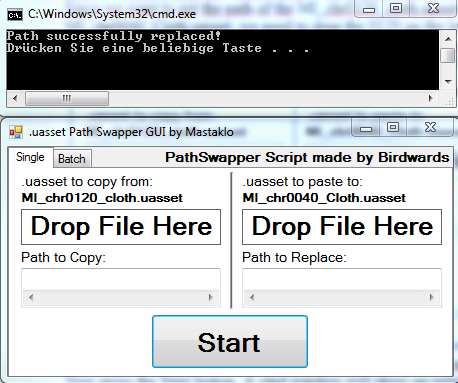
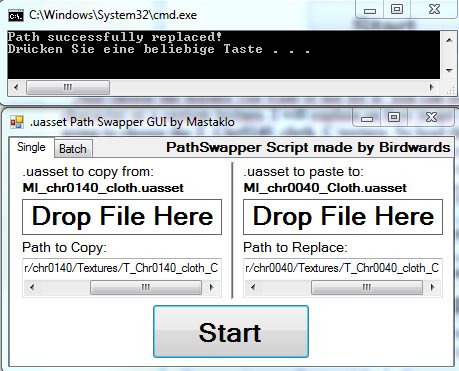
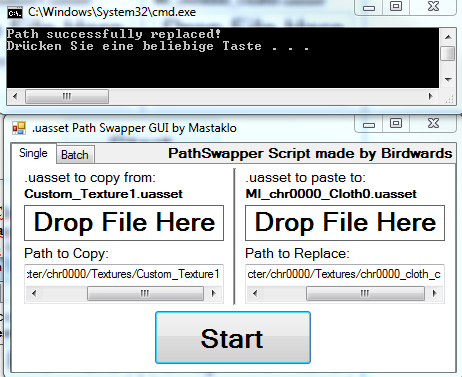
For now we only want to swapp the path of the file itself. It will get the path based on the filename so just leave the Path to Copy/Replace fields empty if you wanna just swapp the files location path.Now press the Start button. A cmd window will show up telling if that the Path was successfully replaced.
Thoretically you now could rename the MI_ch0040_cloth.uasset/.uexp to MI_chr0120_Cloth.uasset/.uexp and pack it with the same location as the original MI_chr0120_Cloth.uasset/.uexp. But since we only changed the file location path it woul load the textures of piccolos cape. Means we need to change the path of the textures inside the MI_ch0040_cloth.uasset. To get the paths we need to open the MI_ch0040_cloth.uasset in either a hex editor or in notepad++. I usually use notepad++ for this as its easier to see the paths there imo. Once you found the Path you want to change, select and copy it like this.

Now paste it in the field that says Path to Replace:
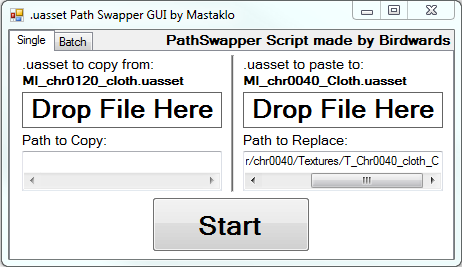
Next choose the texture you want to use for it. You can either choose a texture from another character or a custom texture. I will explain on how to get custom paths later so for now we are going to choose the T_Chr0140_cloth_C texture. So load the MI_chr0140_cloth.uasset material on the left side. Open it up in notepad++ and search for the texture path just like you did before. If you found it copy it and paste it in the Path to Copy: field.It should look like this if you done it correctly.
Now press the Start button and if you set it up correctly it should display the cmd window again with the path successfully replaced message.
Now your MI_ch0040_cloth material will load the T_Chr0140_cloth_C texture for the diffuse map. If you are going to pack your mod now dont forget to rename your MI_chr0040_Cloth.uasset/.uexp to MI_chr0120_Cloth.uasset/.uexp and put it in the same location as the original MI_chr0120_Cloth.uasset/.uexp goes. That covers all on how to edit single files and swapp the files location path and paths the file refers to.
4. Batch Swapp
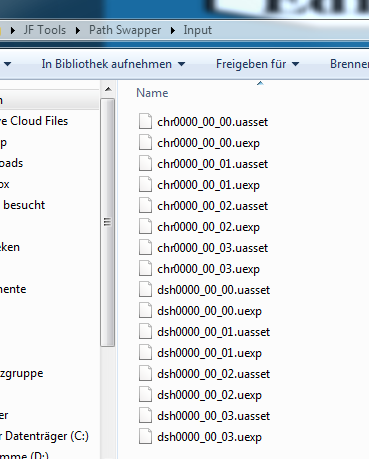
Batch swapping can edit multiple .uasset files at once. But it will only will swapp the paths of the files location which are based on the filename. There are many cases where batch swapping comes in handy. For this tutorial we are going to swapp swapp gokus aura with sabos. First you need to create 2 new folders. One where the files go in where you want to get the paths from (Im gonna call it Input) and one with the files that you want the pathes from input pasted to (Im gonna call it Output). Those are the charge and dash aura files of base form goku. Since we want to get the file location path of those we put it in Input.
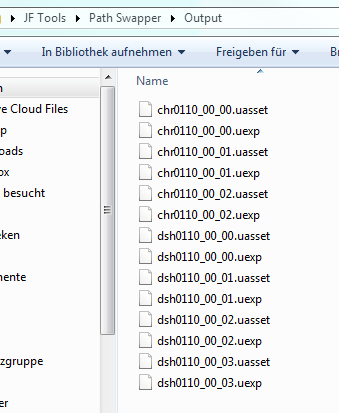
Those are the files for sabos charge and dash aura. Since we want to replace the file location path with the one of Those we put them in Output.
If you take a closer look you will notice that the Input folder got 16 files and the Output folder got 14. Not every character uses the same amount of files so what we are going to do is compare the files and check which 2 files are not present in the Output folder. In our case that would be chr0000_00_03.uasset/.uexp.So we are just going to delete those from the Input folder to get the same file amount as the Output folder.In the uasset path swapper switch to the batch tab and drop the Input folder on the folder to copy from dropfield and the Output folder on the folder to paste to dropfield.
Now press the Start button and a cmd window will show up listing all the files where it swapped the paths.
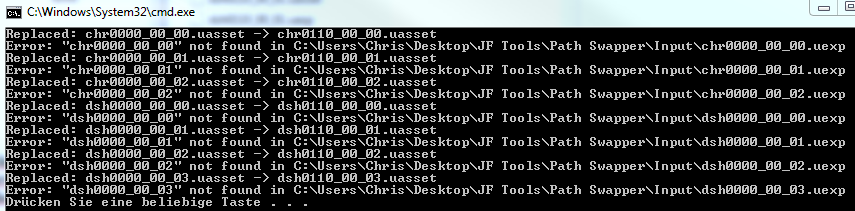
if you got the .uexp files in the folder it will give you error messages for those. Thats because there arent any file location paths in the .uexp files. All you need to check is if it replace the paths of the .uasset files correctly. You can delete the .uexp files before you start the process to get a clean feed but you need to remember that you need to copy and rename them to your .uasset location when you pack your mod. If the feed in the cmd window looks correct you can rename and pack your files. This is how the Output folder should look like after renameing.
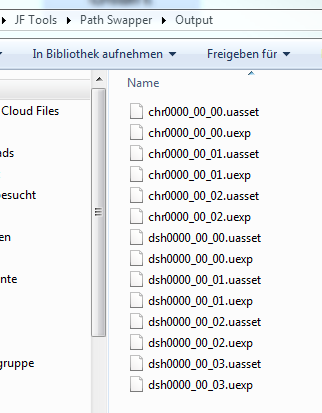
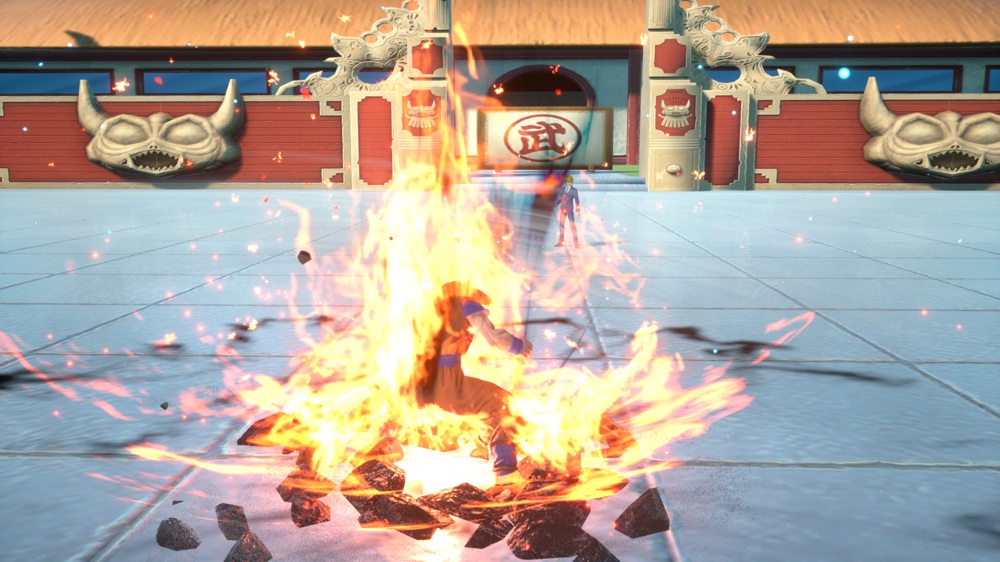
and those are the files we are going to pack with our mod. Now you can test it in game and if you did it correctly Goku will now have Sabos aura.
5. Create Custom Paths
If you for example want to use a material from the original game but want to change the texture it uses to your own custom textures heres how you get your custom path to that texture to swapp them. Since swapping requires the same amount of character in the file name we first need to check that amount of character of the file of which we want to replace the path. For this tutorial we are going to change the diffuse map of the MI_chr0000_Cloth0 material. So open MI_chr0000_Cloth0.uasset in notepad++ and search for the path with the texture you want to replace. In our case that would be /Game/Character/chr0000/Textures/chr0000_cloth_c.chr0000_cloth_c is 15 characters long so take note of this. Now in Unreal Engine 4 create the same path as where the chr0000_cloth_c is located.In our case that would be the folder structure
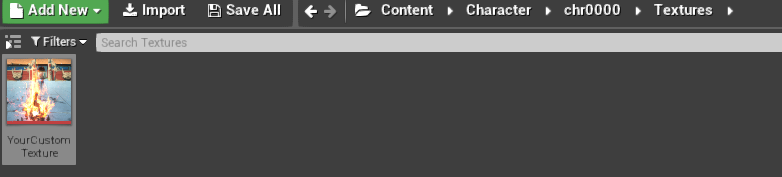
Since the original texture filename was 15 characters long rename the texture to have the same amount.Im going with Custom_Texture1 for this.
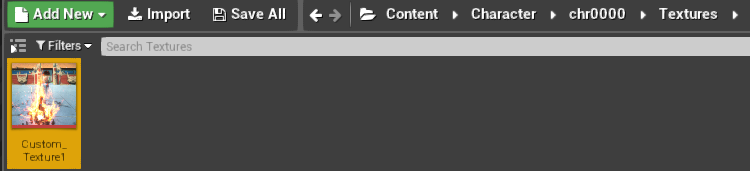
Next cook your files.
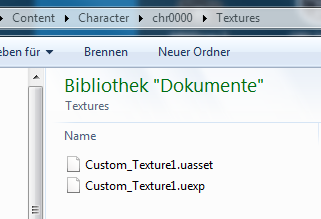
This new .uasset will have the correct path in the file now. In the .uasset path swapper drag your new texture in the copy from and the material in the paste to section.
Open the MI_chr0000_Cloth0 material in notepad++ again and copy the path you want to replace. Then paste it in the Path to Replace: field.Do the Same with your new textures file location path.
Next just press the Start button and if you done it correctly the cmd window with the success message should show up again.
One more thing to note here. If you want to get just the path of a file but youre not using the actuall file from UE4 you can just create a dummy material in UE4 in the correct location with the name you want, and cook it. Then just use that file to get the new path by dragging the new .uasset in the copy from section.That can be usefull if you want to clone some files to a new Character ID for example. The dummy material you create in UE4 is only needed to get the correct path from it.